


Since the PlayStation 5 entered my home, I noticed there was an element that clashed with the whole wonderful console and its new haptic capabilities in its controller. That element was the base on which the console had to be (obligatorily) placed.
I don’t usually complain much about these types of elements because my console doesn’t leave the house much, but when I had to move it to another place, with only 3 months of use, the base started to give way. It’s unbelievable; a base for such an expensive product showed me that it wouldn’t stand the test of the generation, which is expected to be at least 7 years.
 Faced with this problem, I decided to research alternatives in different stores, and after all the research, trial and error, I came across the OIVO brand’s PS5 base. Join me to discover all the elements in this article and find out with me if this replacement is just what you were looking for or not so good for your needs.
Packaging and Features
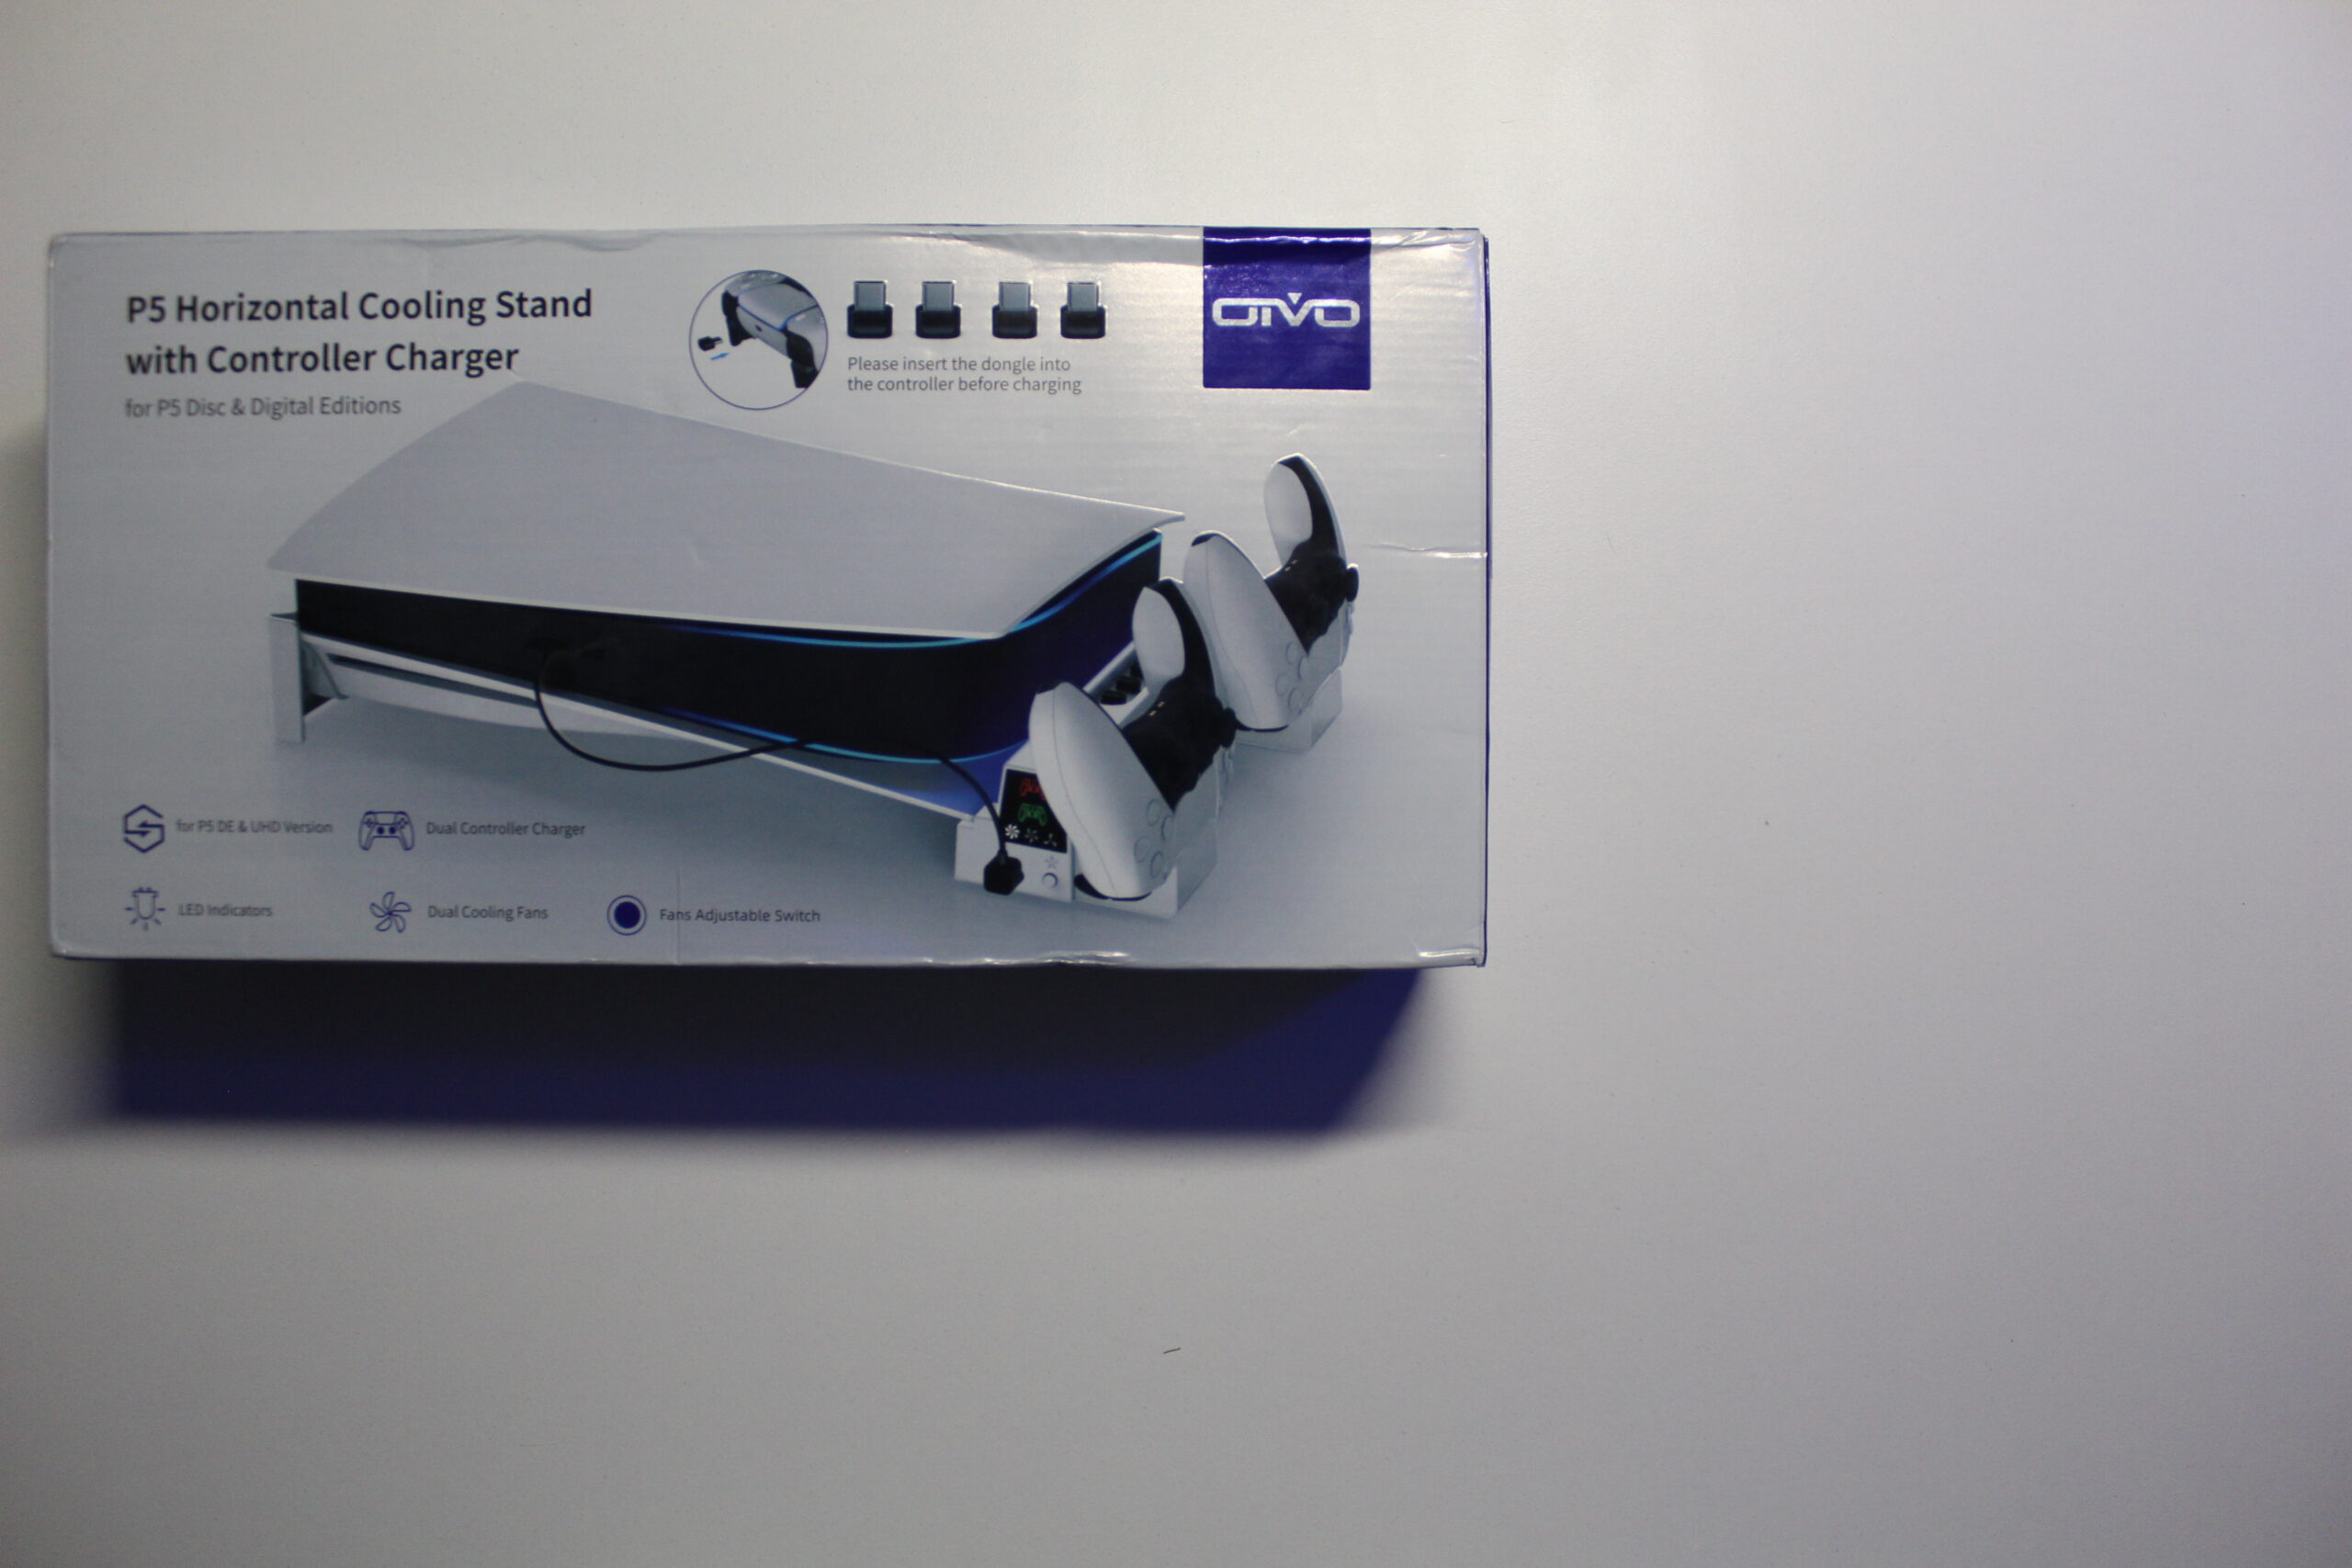
The box feels like it’s made of good material, which, although it may seem superficial, is a good sign of the product’s quality.
One of the first things we can observe when looking at it from the front is the console in a photograph, indicating that this stand will only be for horizontal use.
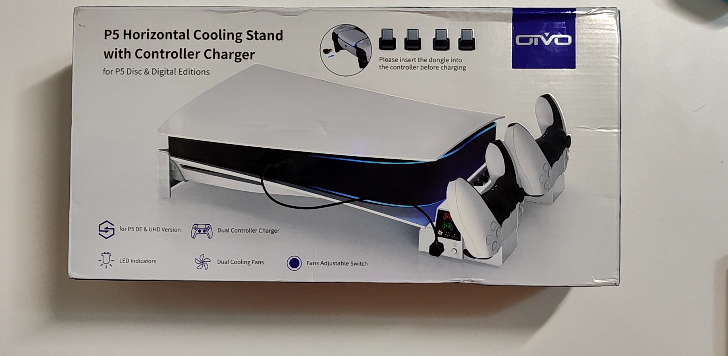 As for features, the box mentions that it works for both the disc version and the digital version of the PlayStation 5. It also states that the stand can charge up to 2 controllers for the console, has LED indicators (we’ll see later what they refer to), and finally, it has fans for cooling with different intensities.
Another element it mentions is that we will have dongles (connectors that go into the controller charging port). These will be used to charge the controllers, and it includes 4 of them.
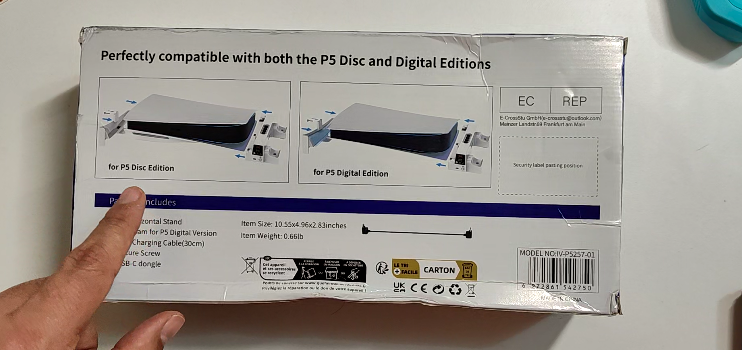 On the back, it shows two drawings of the PlayStation 5 with instructions on how to place the stand on our console, whether we have the disc version or the digital version.
On one side, there is information on how to install it in the digital version, indicating that it includes foam to make it adapt to the stand.
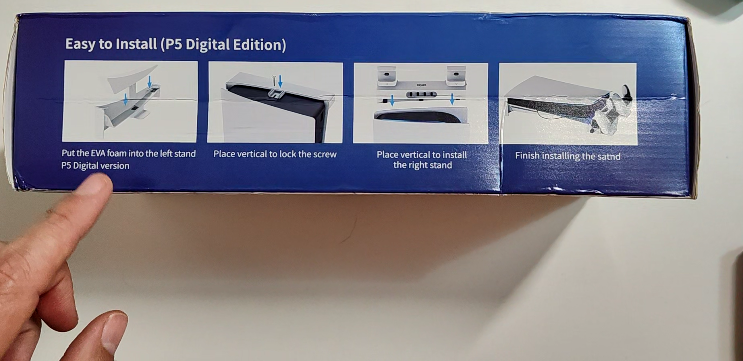 It mentions that it has a screw to secure the stand in the factory hole in our console and briefly continues on how to install the other part of the stand to achieve the final result.
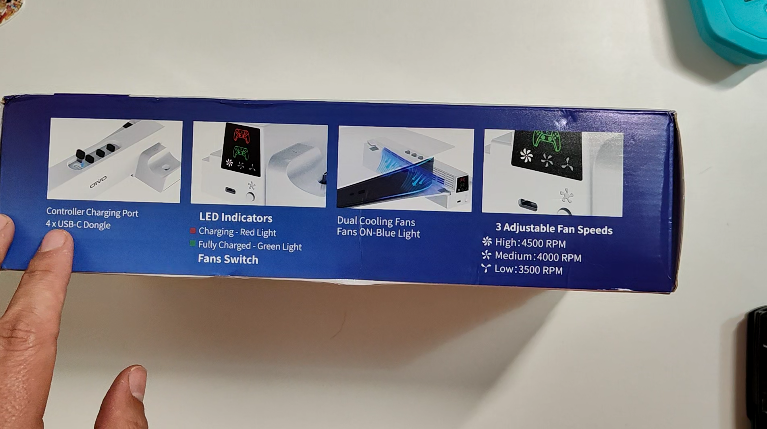 On the other side, it indicates that it has charging ports with 4 dongles. Now it explains that the LED indicators come in two colors: red to indicate that it’s charging and green to indicate that the charge is complete.
As a final element, it tells us about its dual ventilation system that comes with a button to regulate between 3 speeds for the fans.
Package Content
 The base includes the following:
- OIVO Horizontal Base
- EVA Foam piece to adapt the base to PS5 Digital
- 1 USB Type C to USB Type C Cable
- 1 Security Screw
- 4 USB Dongles
- Instruction Manual
Installation
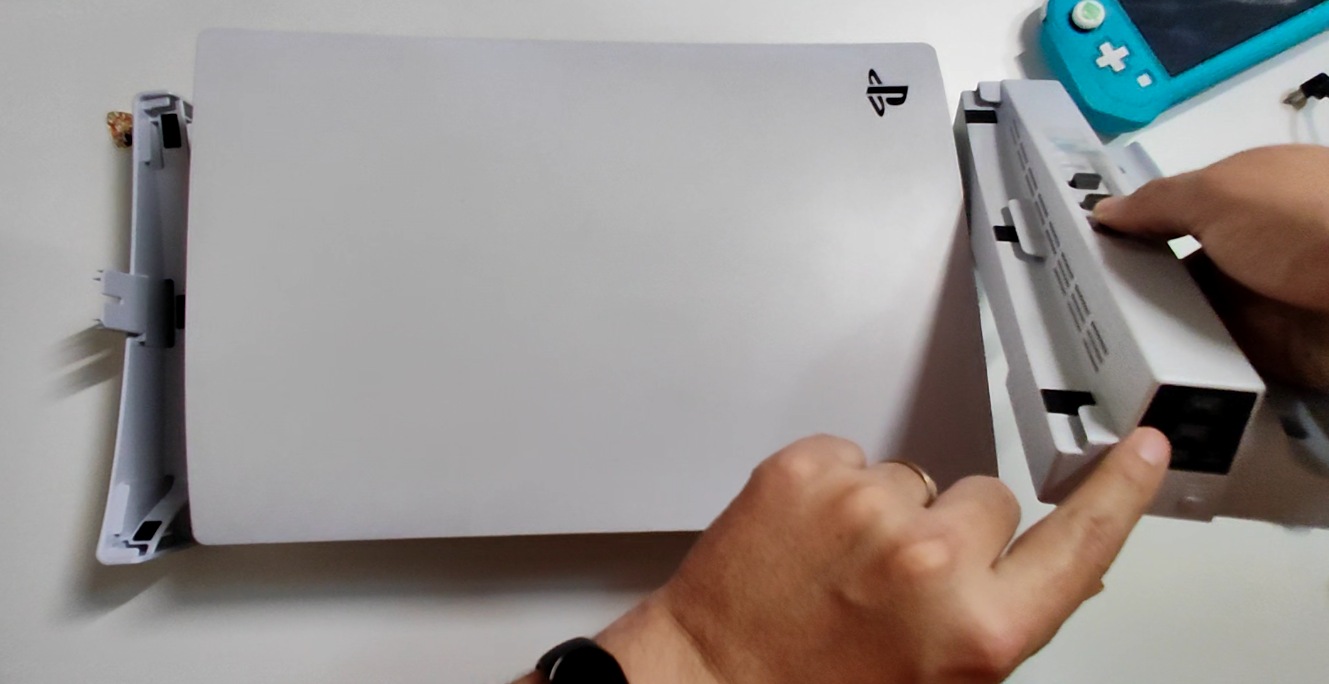
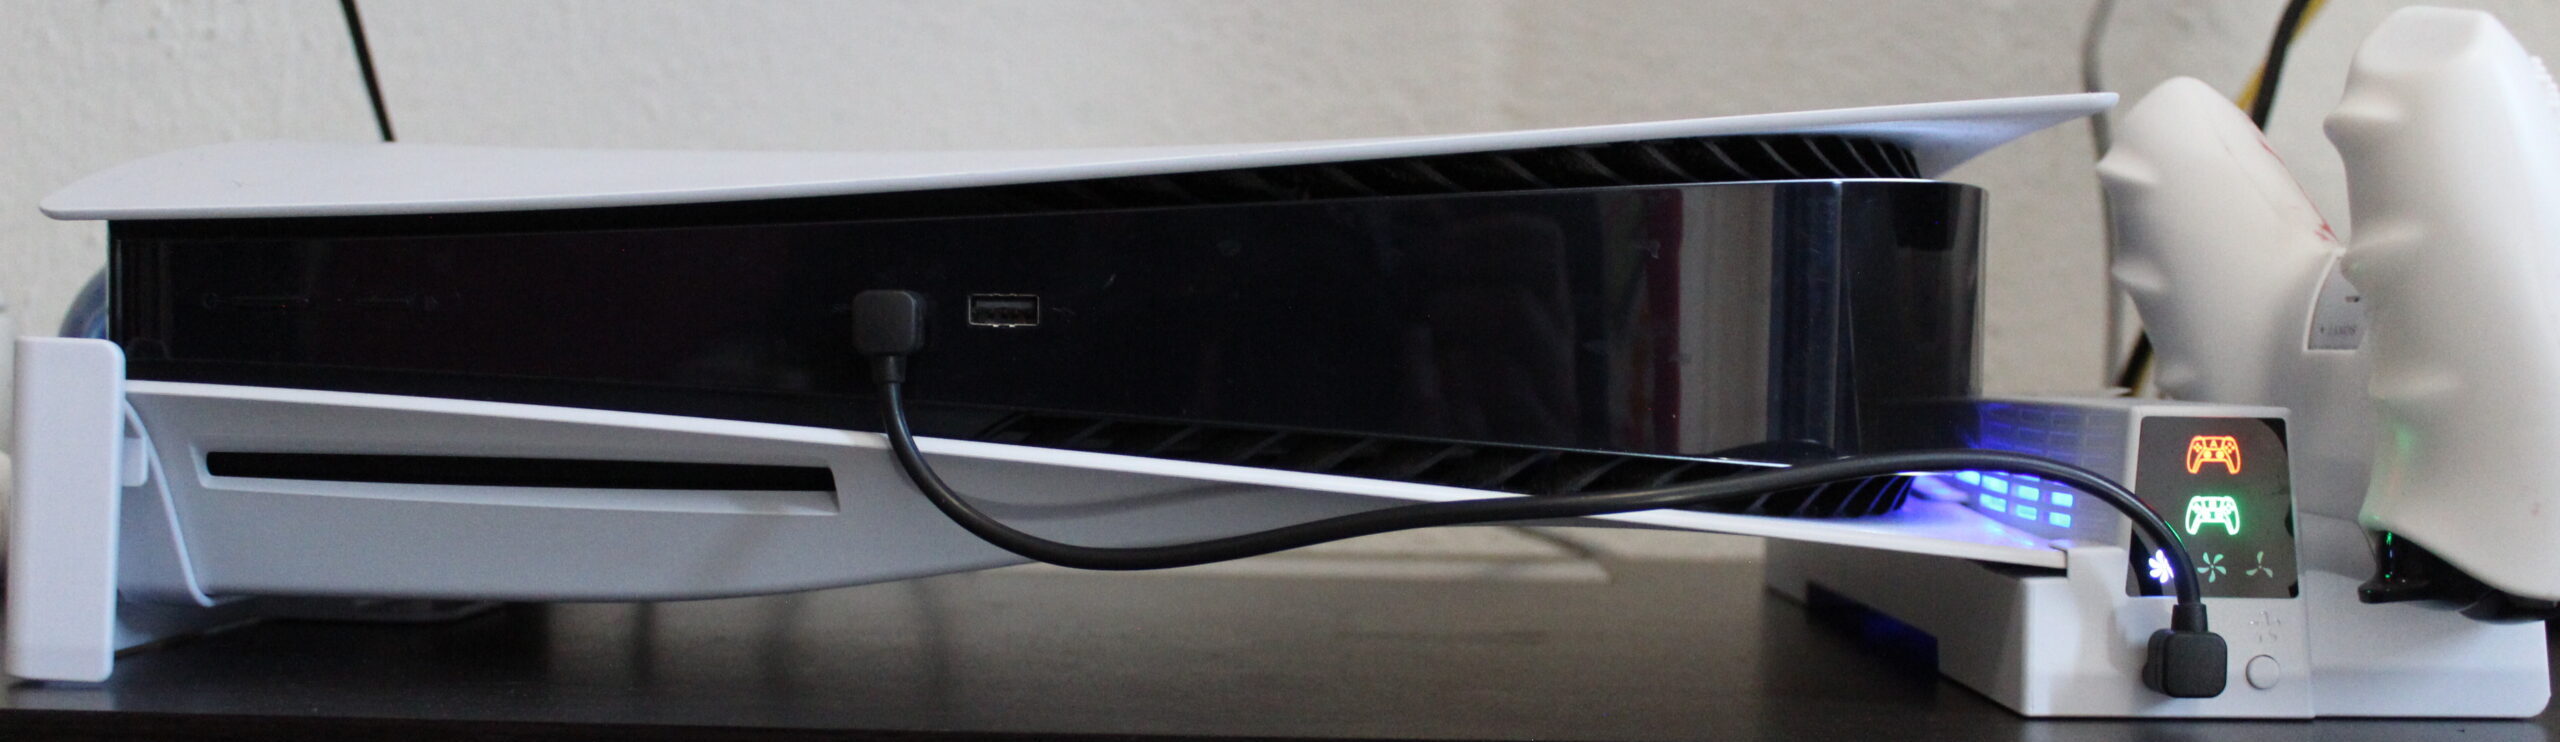
To install the product on the PS5, simply place the side with the controller charger on the side with the PlayStation logo, as shown in the following image:
The other side of the stand looks like this:
 It also includes a screw to secure this end of the stand to the console.
Note: In the instruction manual, we have various indications regarding the voltage, clarifying that it corresponds to the voltage needed to safely power the controllers.
Additional Functions
Fan
This stand comes with a fan and 2 slots to charge controllers; these functions are easy to use.
Starting with the fan, it’s enough to press the power button located just below the LED charge indicators. The fans will turn on, accompanied by a blue light. In addition to turning on, we have different fan speeds. To switch between them, just press the button again.
 We can adjust to 3 speeds, which are:
- High at 4500 RPM
- Medium at 4000 RPM
- Low at 3500 RPM
Using the console for an extended period, I can notice that the temperatures around the console are lower.
Honestly, I believe that this fan function helps dissipate the hot air coming from the PlayStation, and since it doesn’t produce excessive or annoying noise, I have no issues using it daily.
The only time I decided not to use it was in winter when the temperature dropped, and I didn’t find it necessary.
Charging Dock
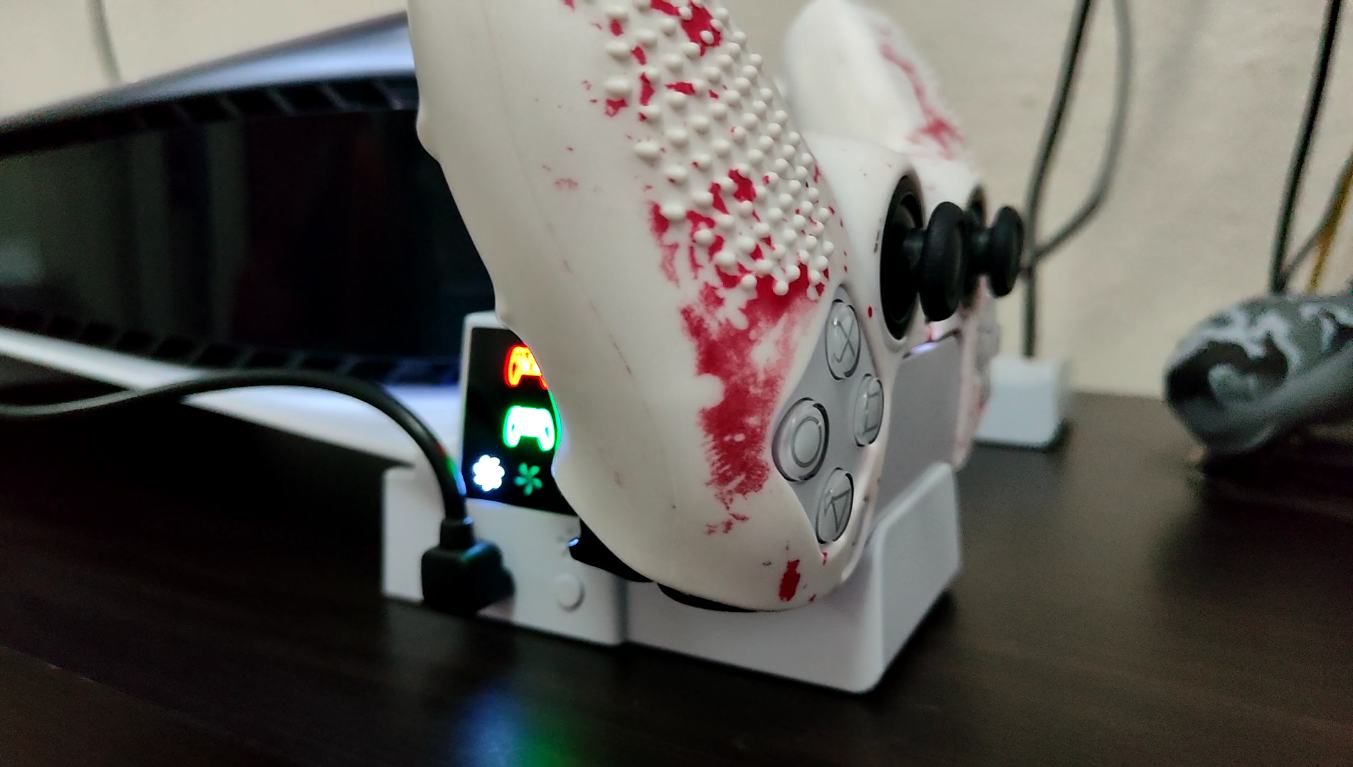 By doing this with the controller, the LED indicator will turn red, indicating that the charging has started. When the charging is complete, the light will turn green.
5 Stars Gadget!
 Being a supporter of placing my PlayStation 5 horizontally due to personal preferences, this stand seemed wonderful to me. But to be honest, at first, I had my doubts, especially about the fan. Initially, I thought it would just make noise and wouldn’t provide relief to the console.
I’m glad to be wrong, especially about the noise part. It has proven useful and is more than a replacement for the old and poor-quality stand they offer us.
I couldn’t be happier with the charging port; it’s genuinely convenient to have the controllers ready and, even more so, to have a space to leave them where they won’t be a nuisance or get lost elsewhere. You just have to make it a habit to always leave the controllers there.
If you’re someone who leaves the console in rest mode, I assure you that you’ll always have more than enough charge for your gaming sessions with this stand.

Greetings, digital legends! I’m Gabriel Gutiérrez, the backstage accomplice at Joystick Latino. A licensed musician with a photographer’s eye, I’ve been venturing into the gaming world from my Atari 2600 since the age of 6. I’m addicted to anime, a fan of the irreverent humor of ‘South Park’ and ‘Rick and Morty,’ and a fearless explorer of cinematic horror.